Automatic DNS applies the DNS changes for your hostnames directly at your DNS provider, so you don't have to copy records by hand. It's especially useful when you're moving a large number of domains to redirect.pizza. Available from the Pro plan and up.
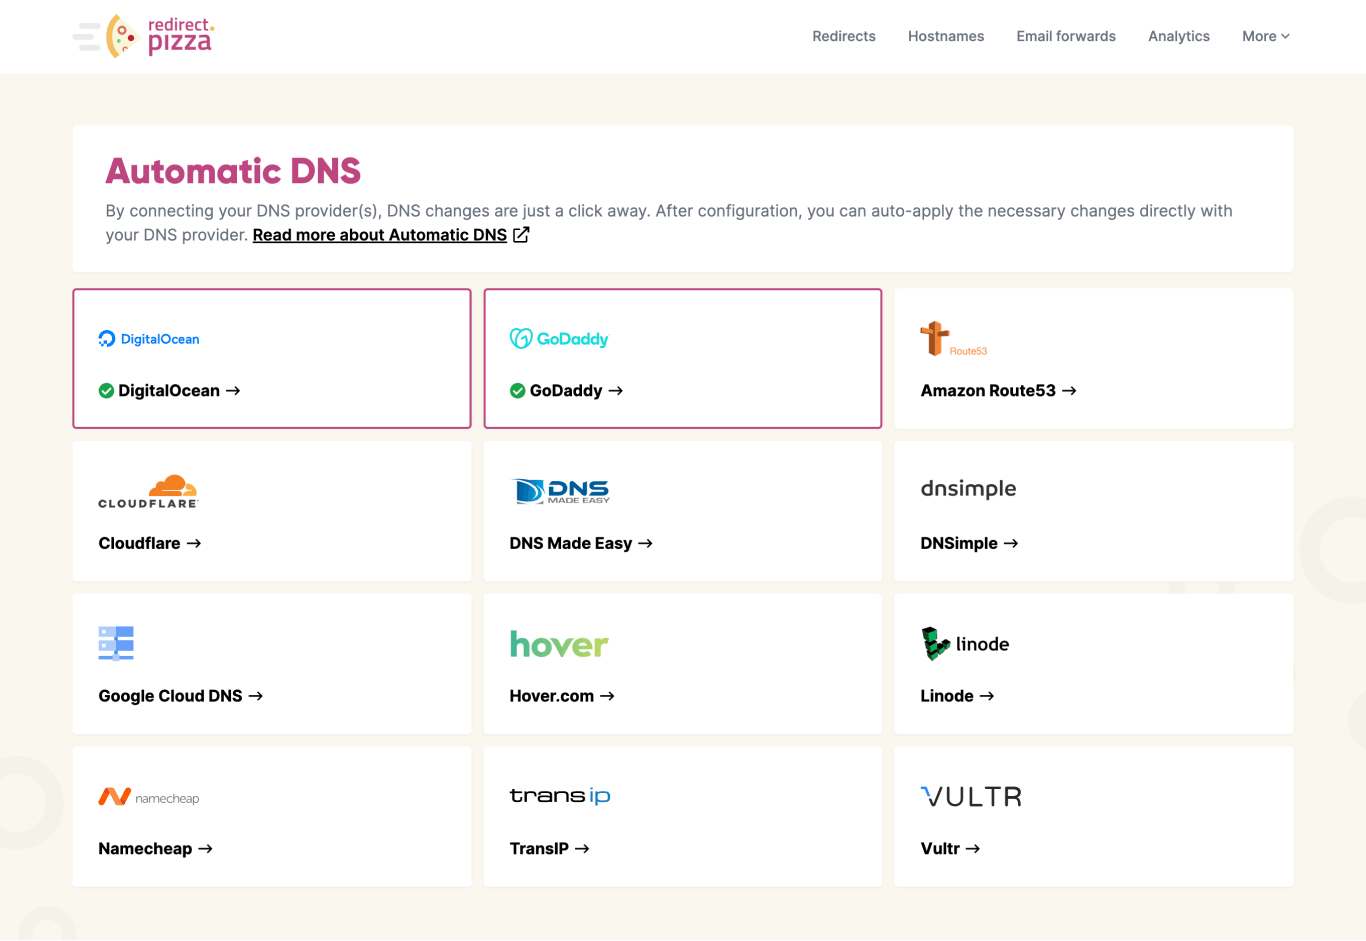
Supported providers
We integrate with the following DNS providers:
- Amazon Route 53
- Azure DNS
- Cloudflare
- Constellix
- DigitalOcean
- DNS Made Easy
- DNSimple
- GoDaddy
- Google Cloud DNS
- Hetzner
- Hover
- IONOS
- Linode
- Namecheap
- NameSilo
- NS1
- OVH
- Porkbun
- TransIP
- Vultr
Is your provider missing? Let us know and we'll look into adding it.
Setting it up
Step 1: Connect your DNS provider
Open More, Automatic DNS and add the API credentials of your DNS provider. In this example we use GoDaddy.

Step 2: Open the hostname
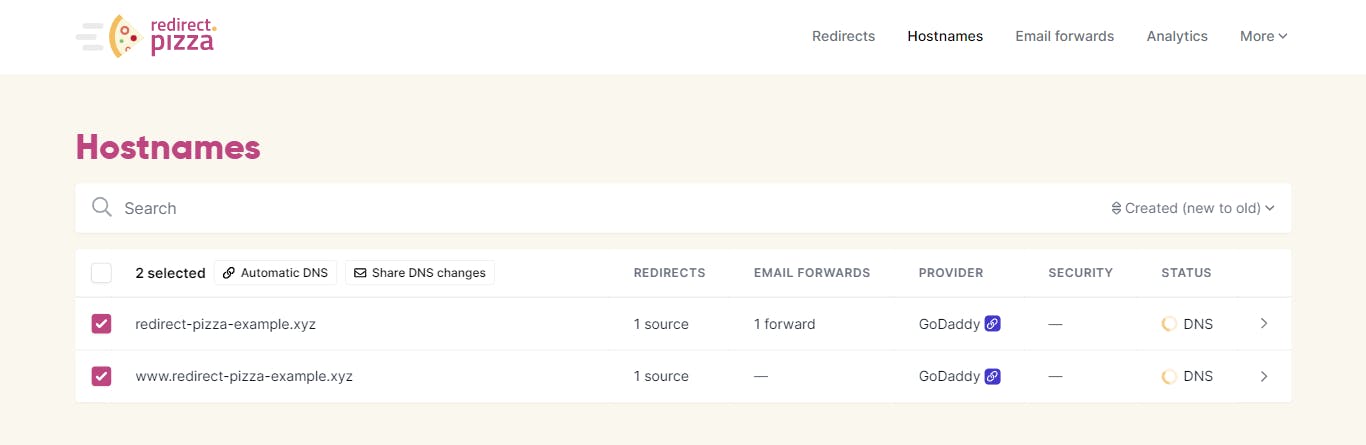
Go to Hostnames and open the hostname you want to update. A link icon next to the provider name indicates that automatic DNS is available for it.

Step 3: Apply the changes
At the top of the page you see a dry run of the changes we're about to make. Check them and press Apply changes. This takes up to 30 seconds.

Step 4: Wait for verification
The records are now updated at your provider. Detecting the change on our side can still take up to 24 hours because of DNS propagation, although it's usually much faster. We keep checking in the background.

Applying in bulk
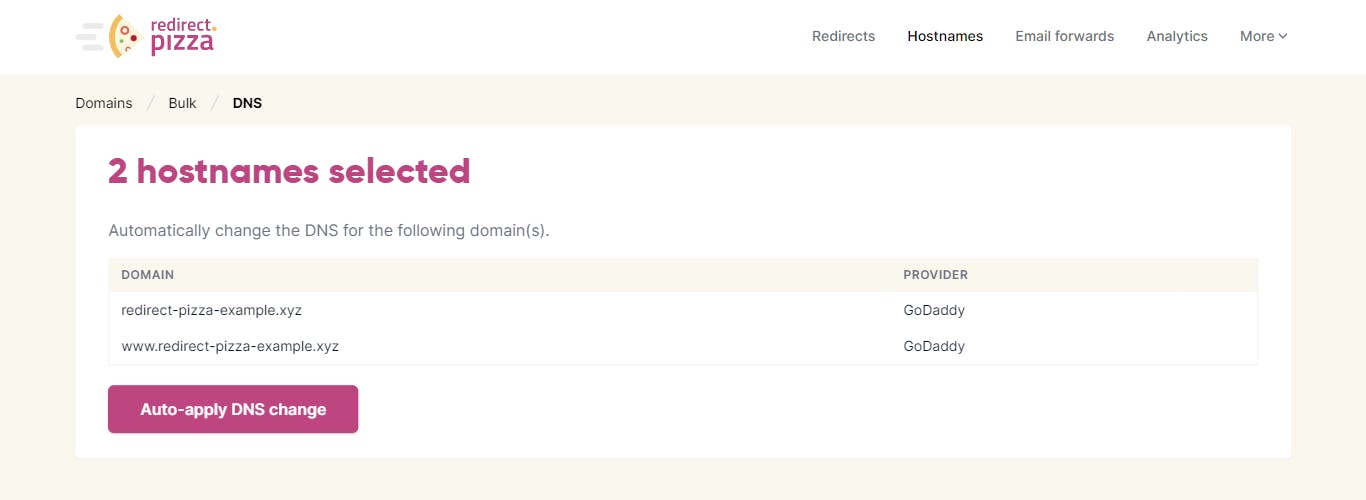
To update many hostnames at once, select them in the Hostnames overview and choose Automatic DNS from the bulk actions.
Press Auto-apply DNS change to apply the changes for all selected hostnames in one go.

Prefer not to share API credentials? For domains that should be redirected entirely, you can also use our nameservers.