redirect.pizza can connect directly with your IdP to enable SSO via SAML2. This guide provides the necessary information for configuration.
Note: SAML SSO is available from our Business plan and up.
Setting up
Navigate in redirect.pizza to More -> Settings. At the bottom of the page, you will find your SSO entity ID & ACS URL.
Navigate to your identity provider and set-up your SSO connection with the Entity ID & ACS URL as defined here.
Set the following options if available:
- Name ID format: EmailAddress
- Signed Assertions: Yes
- Encryption: Preferred. Download our certificate here.
Uploading the metadata XML file
Download your IdP's metadata XML file and upload it under the same segment. We'll extract the necessary details automatically. By default, the integration is set up for a single domain. If you need multiple domains (or another one than set by default), support can assist.
Once the metadata XML is uploaded, the SAML SSO connection becomes active.
Authentication
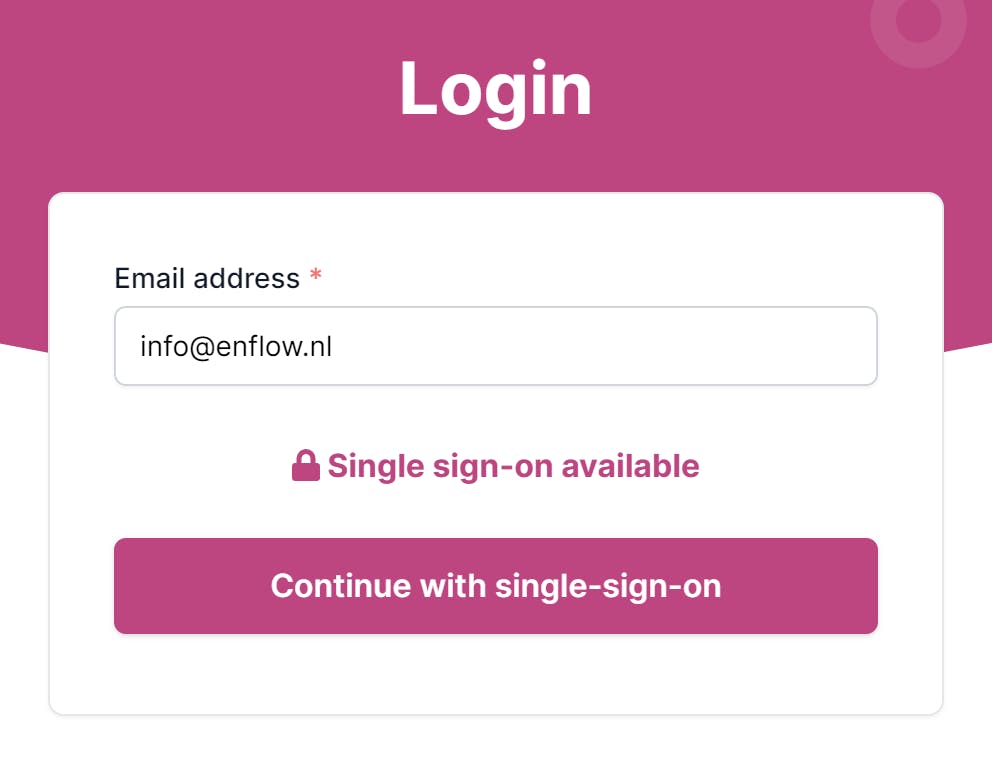
When SAML SSO is activated, users may authenticate through their IdP or via redirect.pizza. When a domain is detected in the email address, we'll prompt the user with the ability to login directly with SAML SSO.
Access
Only users that have been invited via redirect.pizza may access the account.
You can invite new users under More -> Users. They will receive an one-click link which can be used with SSO to activate their account.
Single logout
redirect.pizza supports SAML Single Logout (SLO), allowing users to be logged out via your IdP. The SLO URL can be found in your SAML settings under More -> Settings. Use this URL in your identity provider to configure IdP-initiated logout.

